How to Display an Image Picker in Swift
August 27, 2020
In this tutorial, I'm going to show you how you can add an image picker component on your iOS apps using UIImagePickerController, a view controller provided by the UIKit framework that can be used to get an image from your users. The image can be obtained from different types of sources, such as the user's photo library or their phone's camera.
Prerequisites
Before you get started, make sure that you:
Getting started
Here, we're going to start from scratch. So, go ahead and create a new blank iOS application using your XCode.
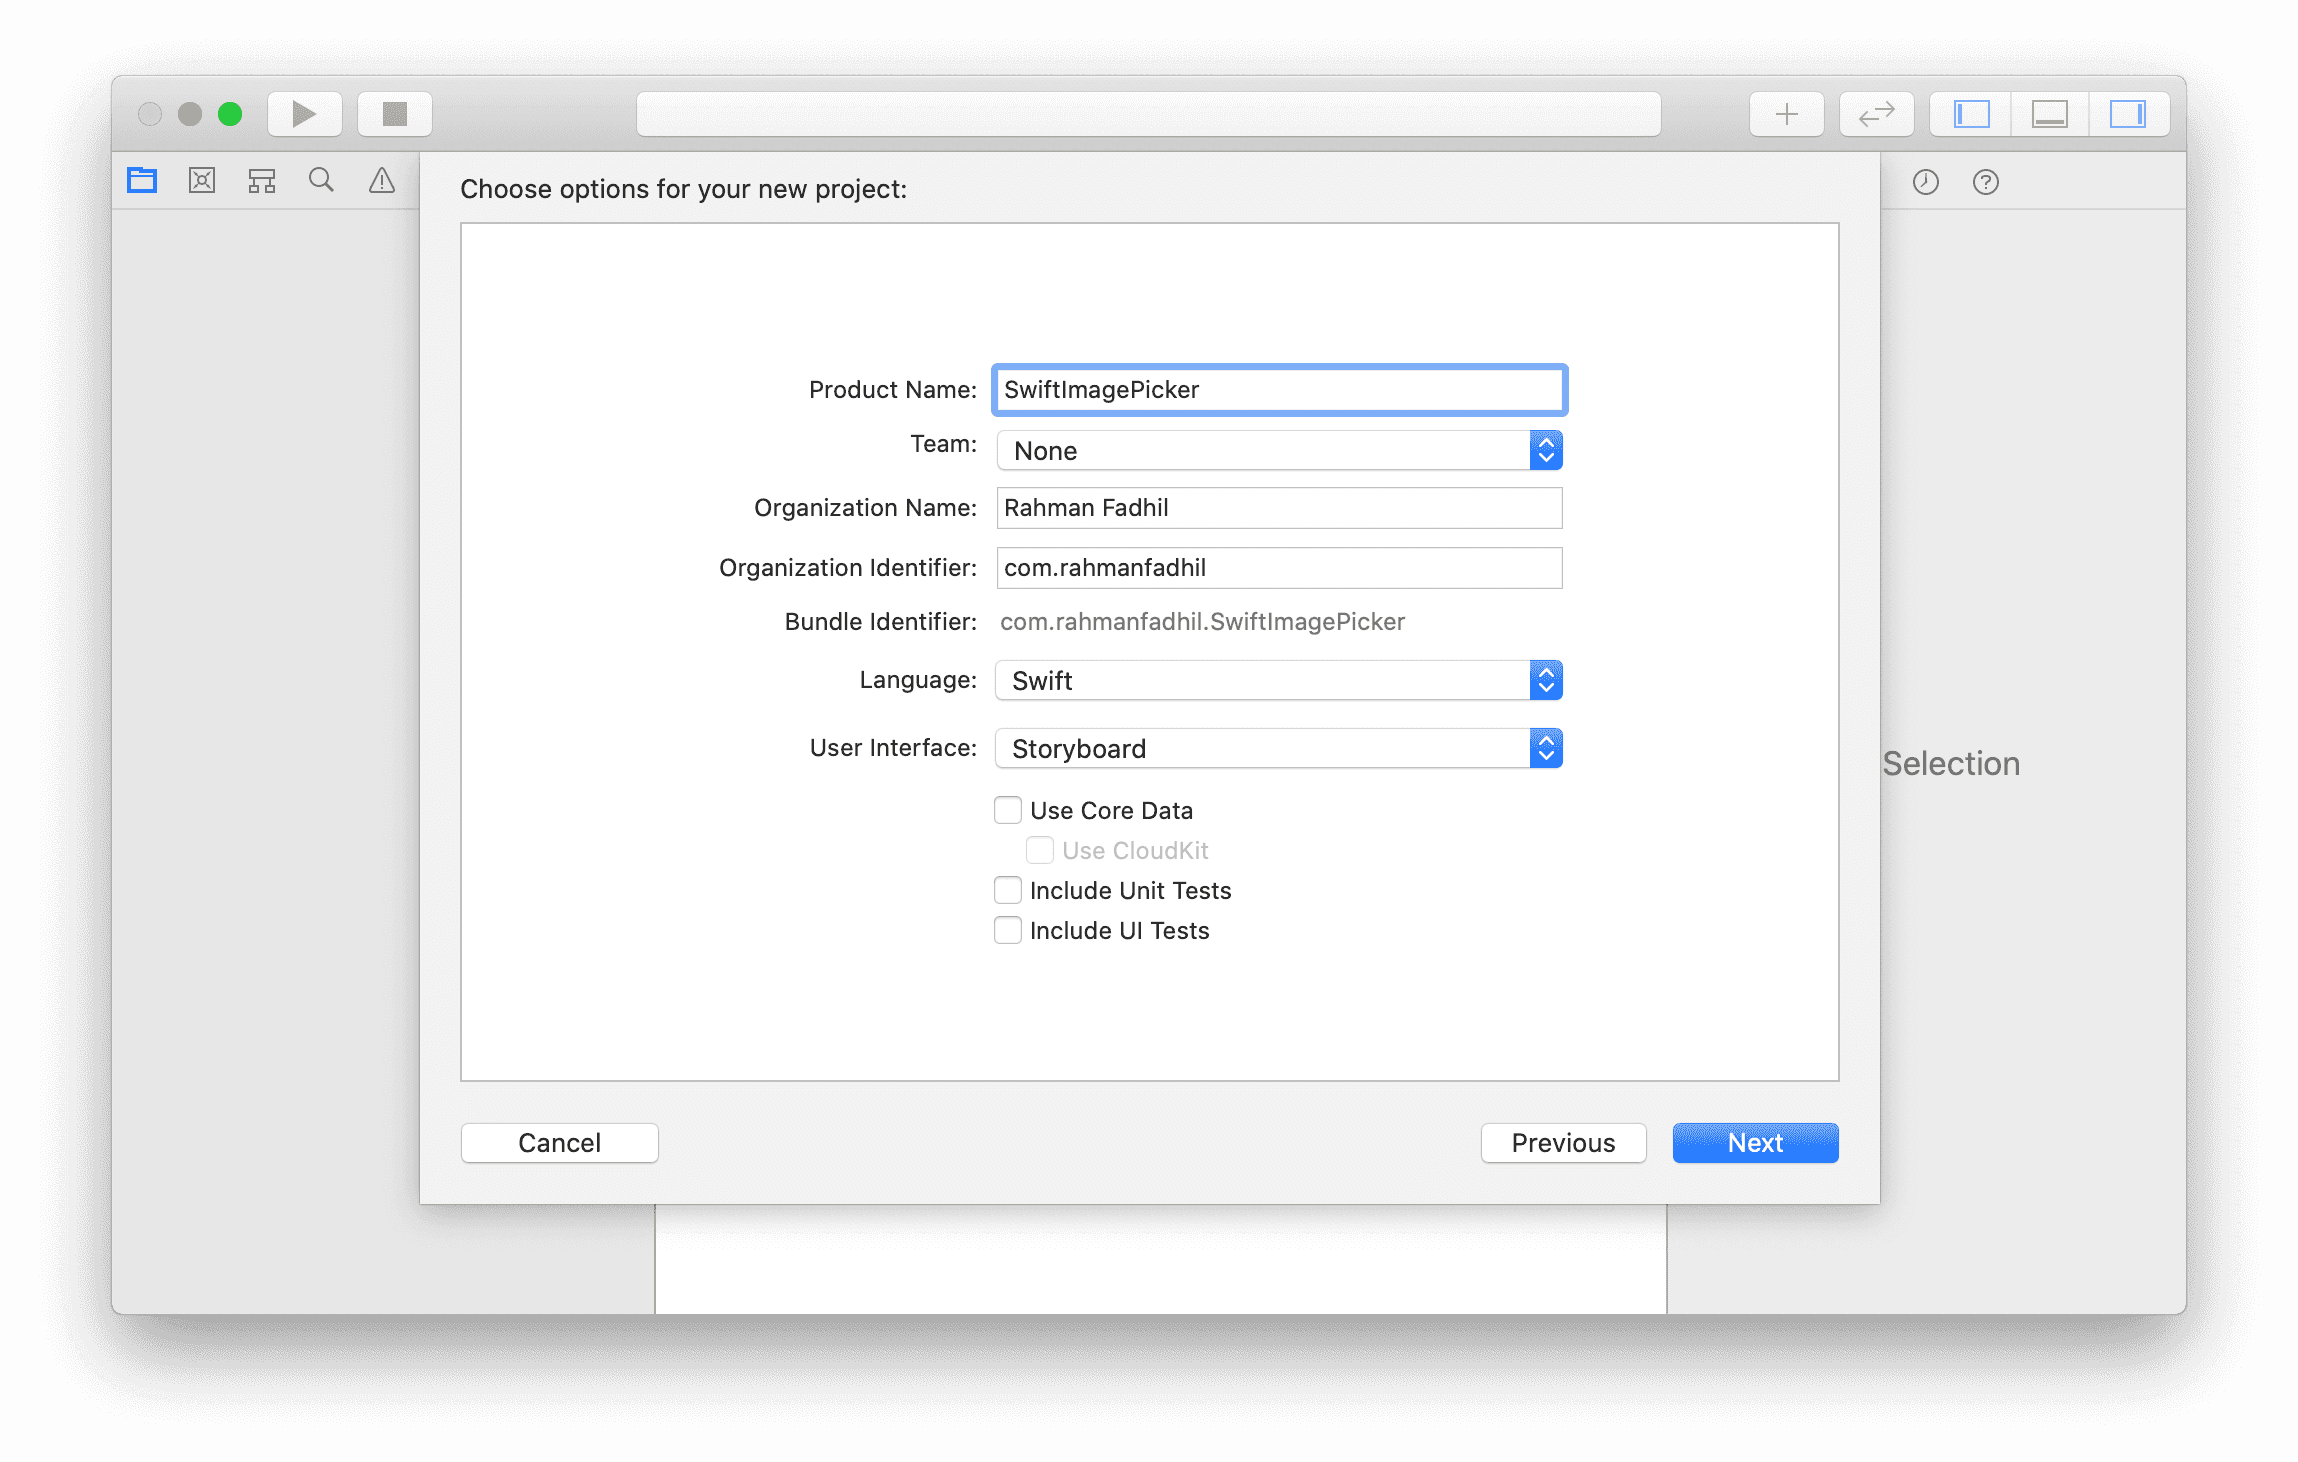
You can name your project whatever you want, but make sure you select "Storyboard" as your user interface instead of "SwiftUI". You can leave the rest of the configuration by default, and click "Next". Then, select the directory where you want to put this project, and click "Create".
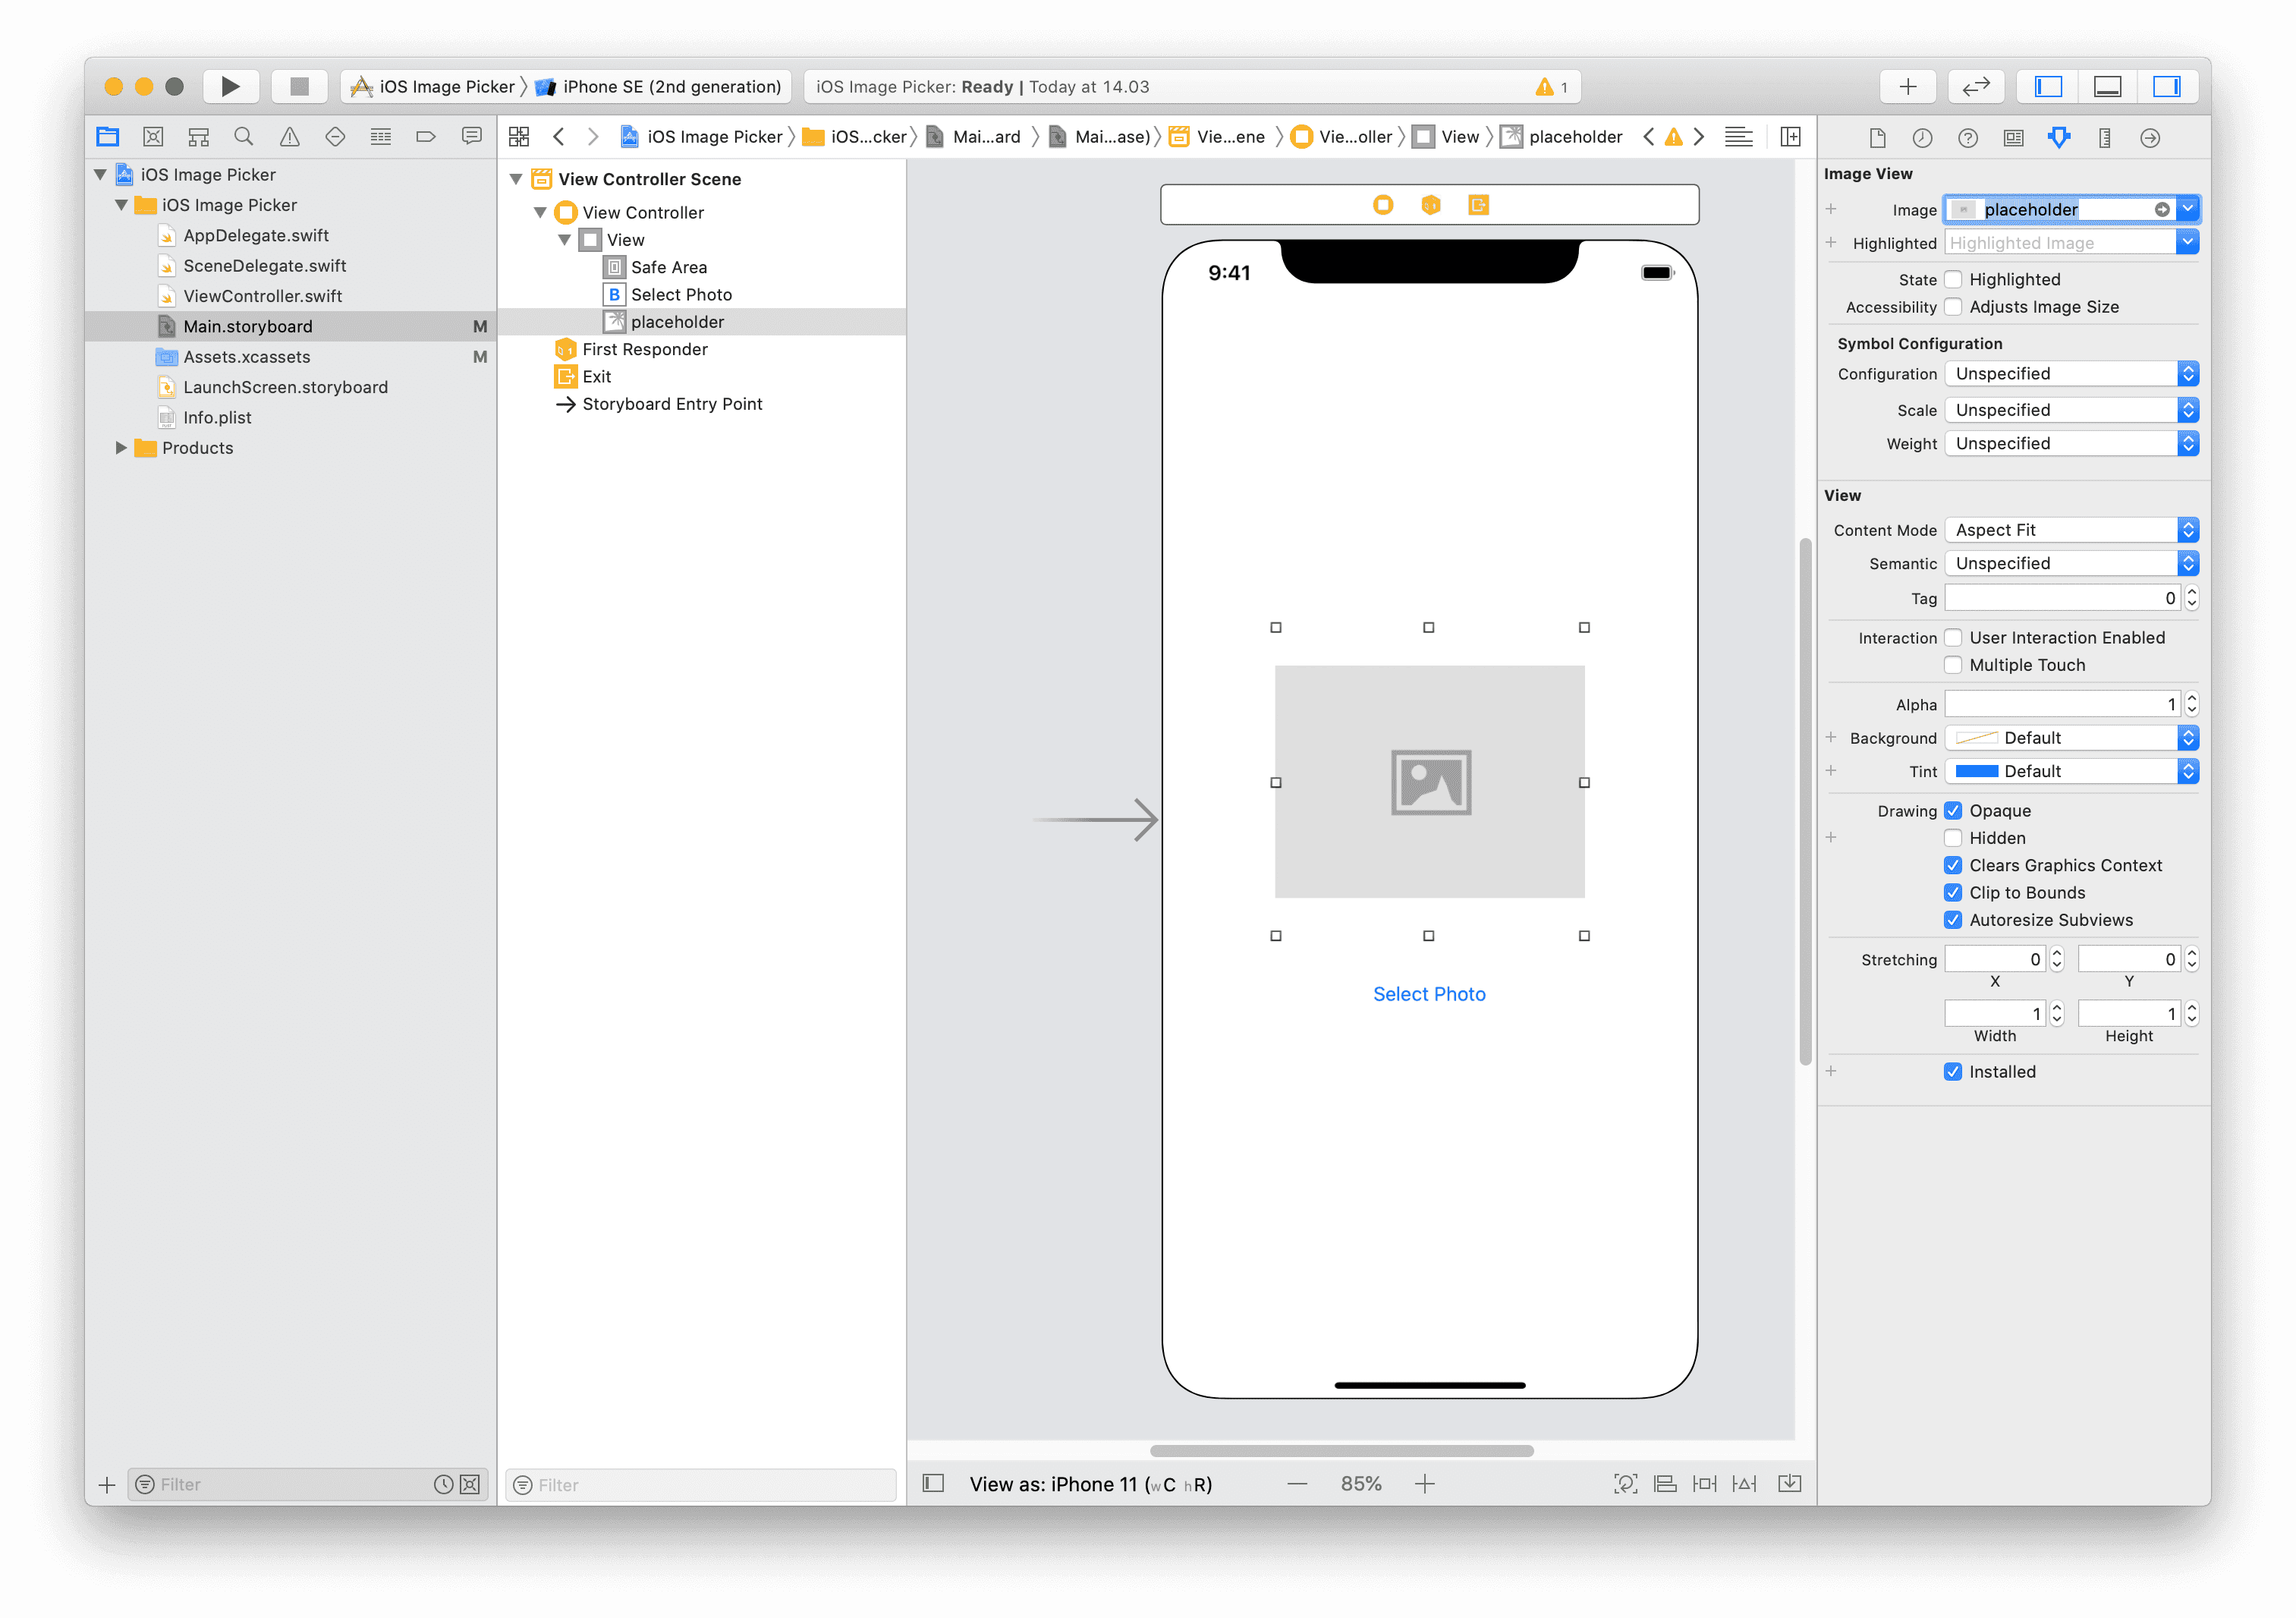
Once you have a brand new project, you can go to the Main.storyboard file and add two elements inside the view controller.
The first one is a button, which will show up an image picker modal whenever it gets pressed.
The second one is an image view. I'm going to put a placeholder image at first, but once the user selected an image, we'll display that image to that view. This can be done by drag-and-dropping an image (from your Finder) to the "xcassets" folder which you can find next to your Main.storyboard file.
Now we have our user interface set up. Let's write some code in our view controller.
Setting up view controller
The first thing we want to do is to connect our Storyboard elements into our view controller class. Let's start by adding an IBAction for our button so that we can exeute some code when the button gets pressed.
The easiest way to do that is by enabling assistant mode within our storyboard. This will open up a code editor that is pointing to our view controller on the right side of our screen.
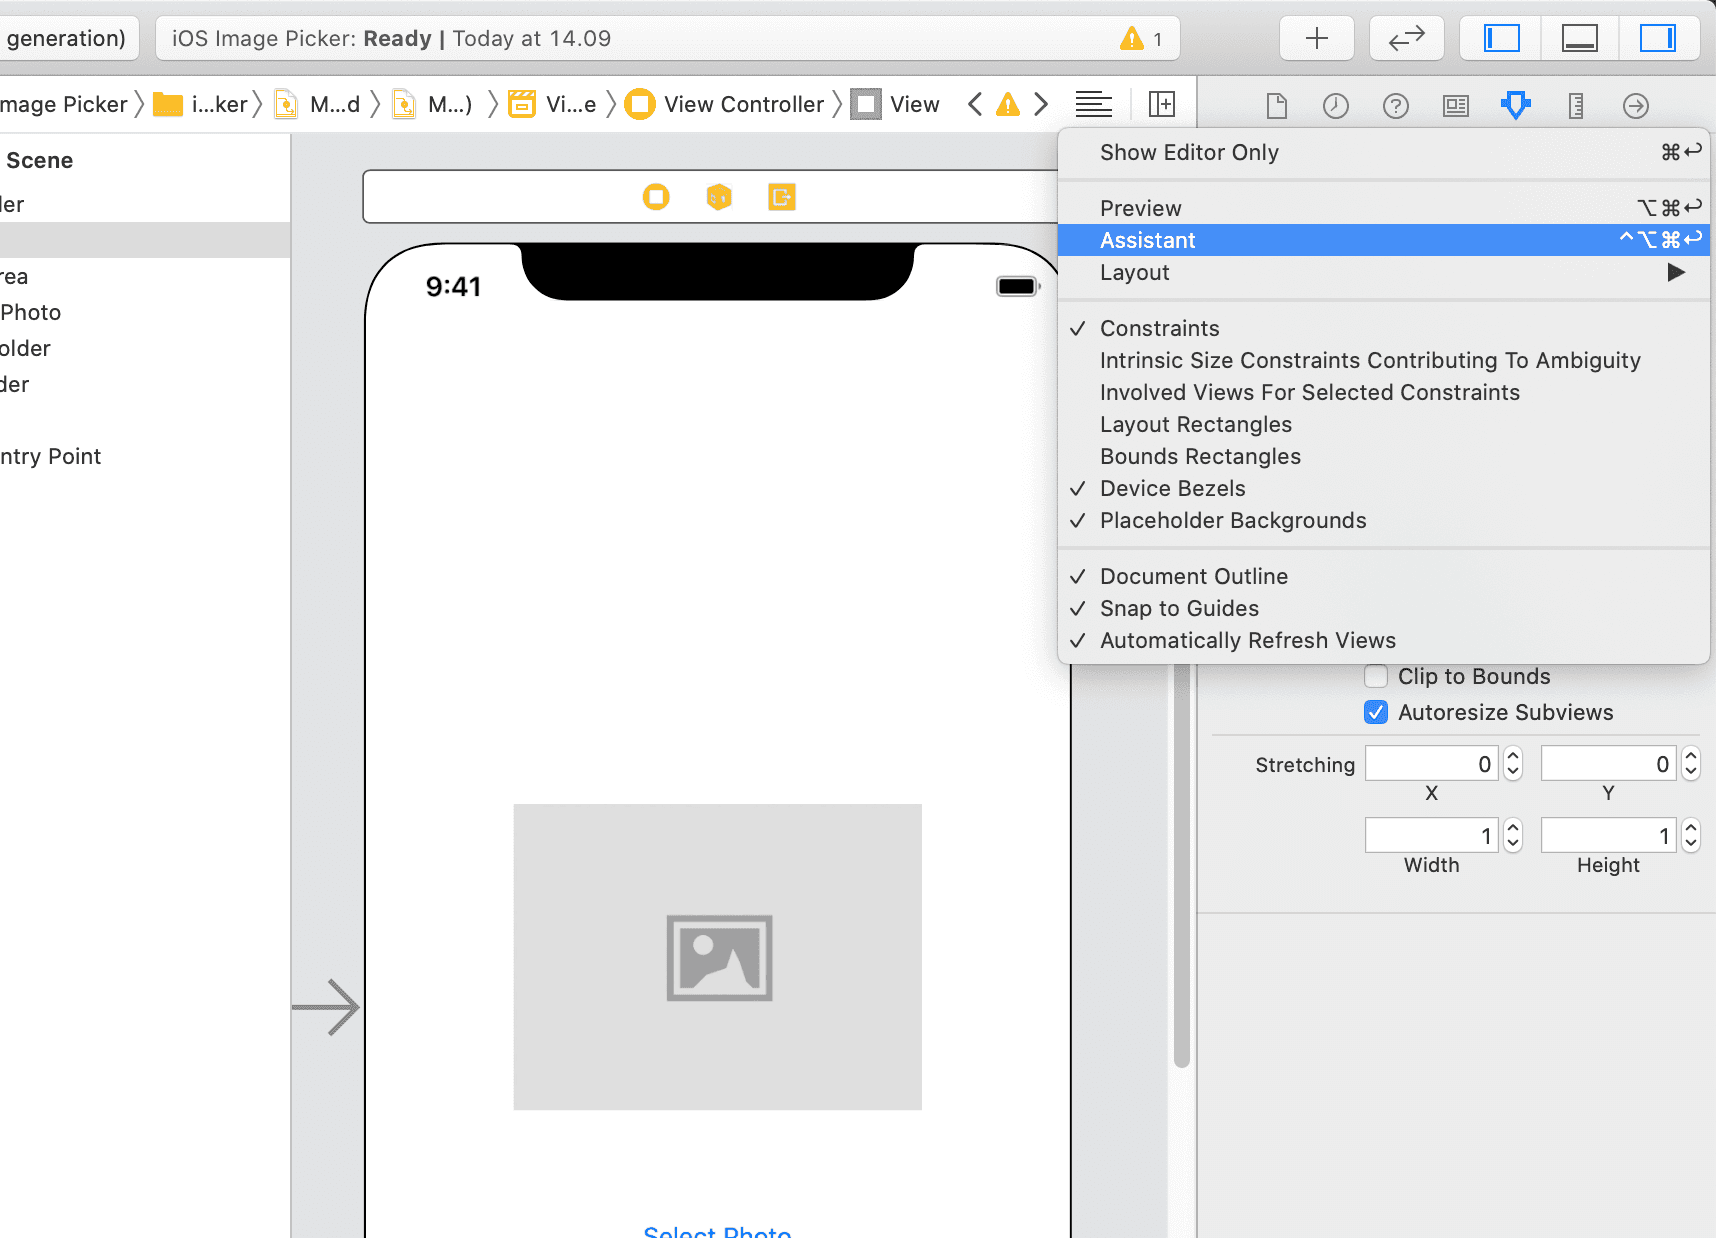
Hold control and drag your button to the code editor below the viewDidLoad method. It will show a dialog to configure your IBAction method. I'm going to call this method selectPhotoPressed and make sure that you select "touch up inside" event. Click "Done", and it'll create an IBAction method for your button.
We also want to connect our preview image to our class as an IBOutlet. If you did it right, the result should be like this:
class ViewController: UIViewController {
    @IBOutlet weak var previewImage: UIImageView!

    override func viewDidLoad() {
        super.viewDidLoad()
    }

    @IBAction func selectPhotoPressed(_ sender: Any) {

    }
}
Displaying image picker
In the selectPhotoPressed method, we're going to initialize a new UIImagePickerController class. Let's call it imagePickerVC. Next, we need to configure our image picker source, which basically saying where the users can get the photo.
If you're running your app on a simulator, you cannot use the camera source, since the simulator doesn't connected to any camera device. So, in this tutorial I'm just going to use the photo library.
Finally, we can present our image picker from this view controller using the present method.
@IBAction func selectPhotoPressed(_ sender: Any) {
let imagePickerVC = UIImagePickerController()
imagePickerVC.sourceType = .photoLibrary
present(imagePickerVC, animated: true)
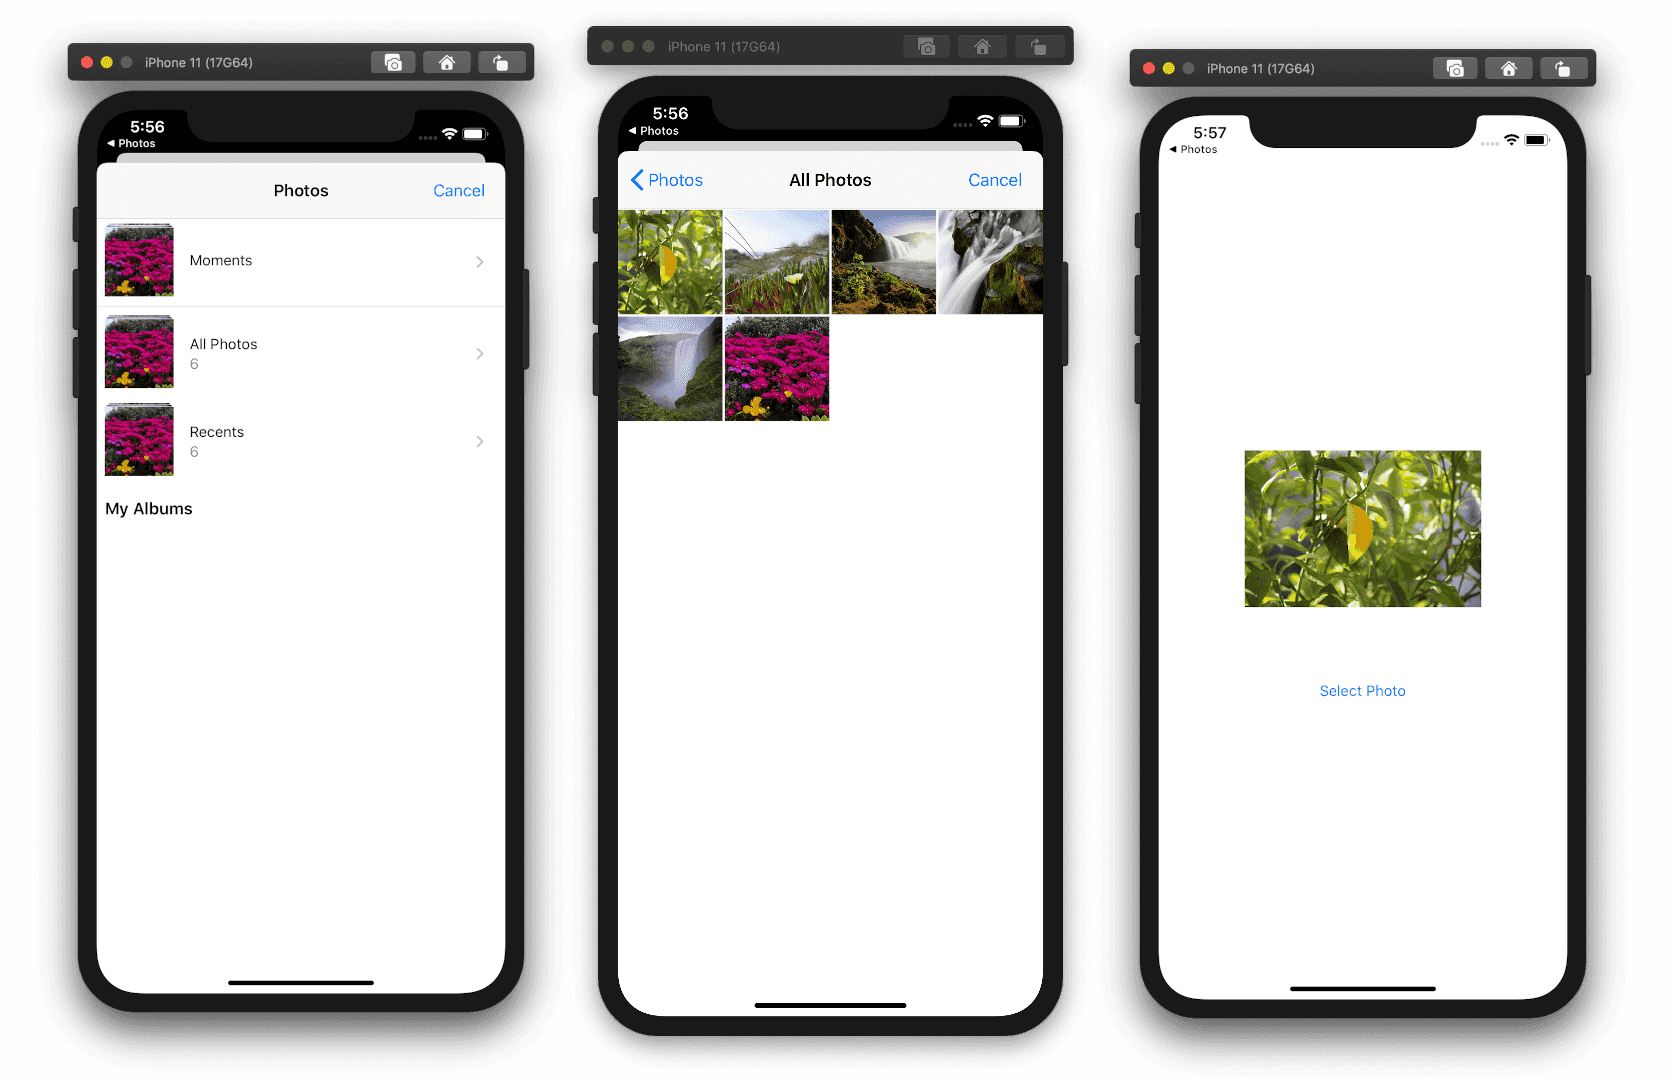
}Now, when you click the "Select Photo" button, it will show up an image picker modal which allows you to search through your photo gallery. But once you select a photo, it doesn't do anything yet. That's because we didn't have any method that can handle that operation.
This can be done by setting the delegate of our image picker to this view controller. To do that, our view controller class needs to conform the UIImagePickerControllerDelegate and UINavigationControllerDelegate.
From there, we can add the didFinishPickingMediaWithInfo handler so that we can do something when the user has selected a photo. This method will be executed when the user has selected an image.
class ViewController: UIViewController, UIImagePickerControllerDelegate, UINavigationControllerDelegate {
    override func viewDidLoad() {
        super.viewDidLoad()
    }

    @IBAction func selectPhotoPressed(_ sender: Any) {
        let imagePickerVC = UIImagePickerController()
        imagePickerVC.sourceType = .photoLibrary
        imagePickerVC.delegate = self // new
        present(imagePickerVC, animated: true)
    }

    func imagePickerController(_ picker: UIImagePickerController, didFinishPickingMediaWithInfo info: [UIImagePickerController.InfoKey : Any]) {
        // do someting...
    }
}
There are a few things that need to be done in this method. First, we want to go back to the previous view controller by dismissing the image picker modal. Then, get the user selected image using from the info parameter and put that into our image view. Because the image is weakly typed, we need to downcast it first to a UIImage type.
func imagePickerController(_ picker: UIImagePickerController, didFinishPickingMediaWithInfo info: [UIImagePickerController.InfoKey : Any]) {
    picker.dismiss(animated: true, completion: nil)

    if let image = info[.originalImage] as? UIImage {
        previewImage.image = image
    }
}
Run the app and you'll see this result.
For reference, I published the entire source code of this project on my GitHub. Feel free to poke around or clone it onto your computer.
Abdurrahman Fadhil
I'm a software engineer specialized in iOS and full-stack web development. If you have a project in mind, feel free to contact me and start the conversation.